Build: Internet in a Box

My last post talked about how much I dislike conspiracy theories, and here I am discussing how to build something that would really only be useful in a catastrophic, long term power grid failure 😵. EMP's, rouge solar flares, or power grid attacks all seem far fetched, but the fears are grounded in reality. Our power grid is aging and weak and if something like a Carrington Event happened again its likely to take weeks, months, or even years to restore connectivity to everyone.
In the Solar Storm of 1859, dubbed the Carrington Event, telegraph lines failed across the world. Pylons sparked and paper on the receiving ends caught fire due to the huge electrical surge.
This was less than 200 years ago, but you can imagine what could happen today with our increased technology usage - electricity and internet could go down for hundreds of millions of people and businesses in large regions. Having occurred before cars and airplanes were invented, we have no idea how it could affect those either - and tests, while promising, have been inconclusive. Either way, if you consider how much we (including healthcare and emergency professionals) depend on technology and the internet for information, communication, and travel it would be an absolute disaster.
Enter Internet in a Box, an open-source mini-computer that was built to provide "learning hotspots" to remote regions of the world, without access to the internet. How does it work? Essentially, its a small computer that downloads important open-source information, like Wikipedia, maps, healthcare information, and much more, and acts as a server so that anyone can connect to it via their device (phone, laptop, tablet, computer) via WiFi. If the power and internet goes out, you still have access to all of the information on this device.
How is this beneficial? Lets say the grid does go down.
- Many people are dependent on GPS for mapping, and not many people carry maps around. If you need to get somewhere, this could provide an eye-in-the-sky resource for travel planning. (hospital, safe zones, higher ground...)
- If someone is sick or gets injured, it provides a huge resource of medical and care info.
- If your vehicle or home needs repairs, there are home improvement and automotive repair guides via wikihow.
- The Practical Action module teaches everything from harvesting rainwater to installing off-grid solar panels to beekeeping and candle making.
Here's what I bought:
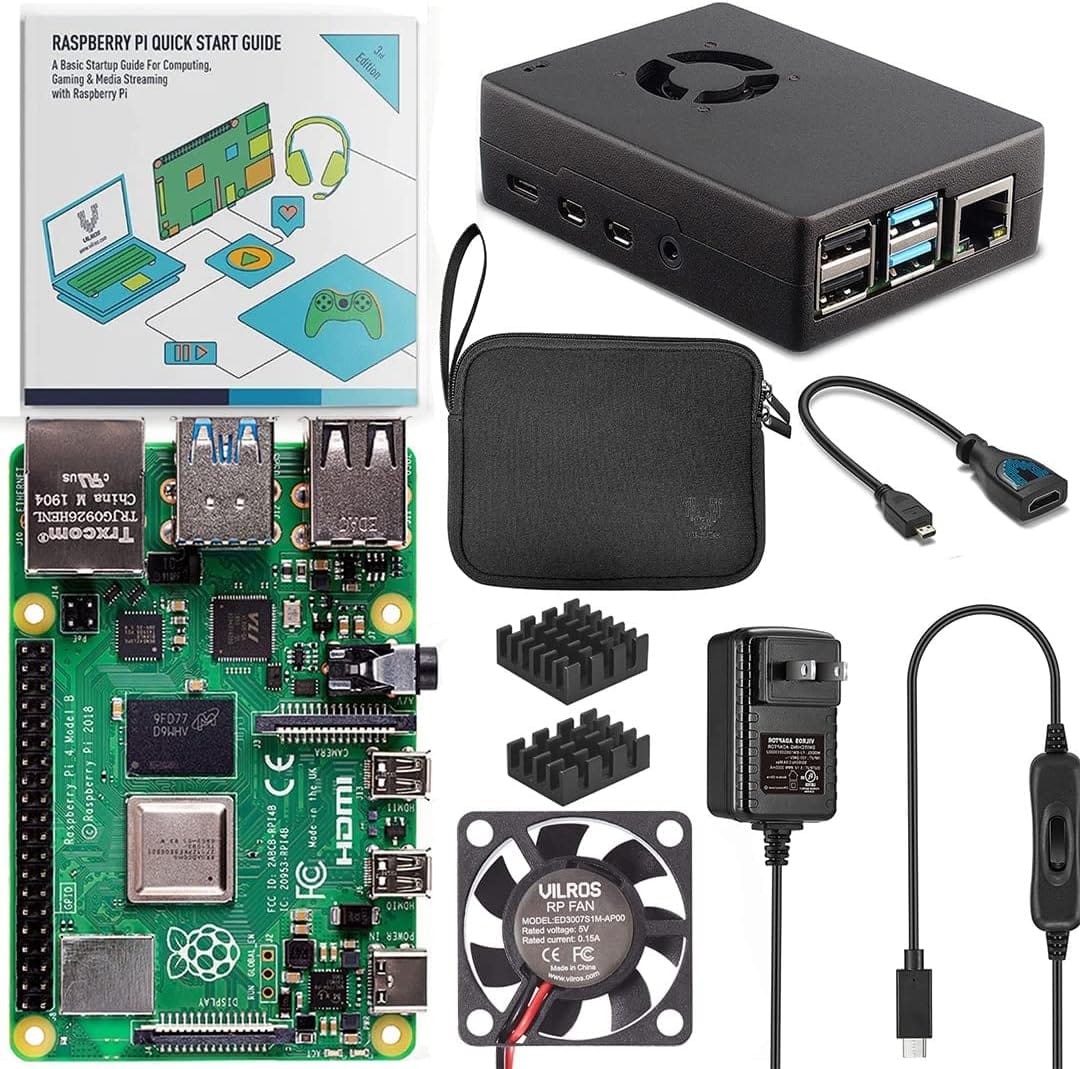
Vilros Raspberri Pi 4 8GB Starter Kit - $130
You can purchase a naked Raspberry Pi 4 for around $65, but then you need to buy a case, plug, fan, cables etc. This kit is just simple.
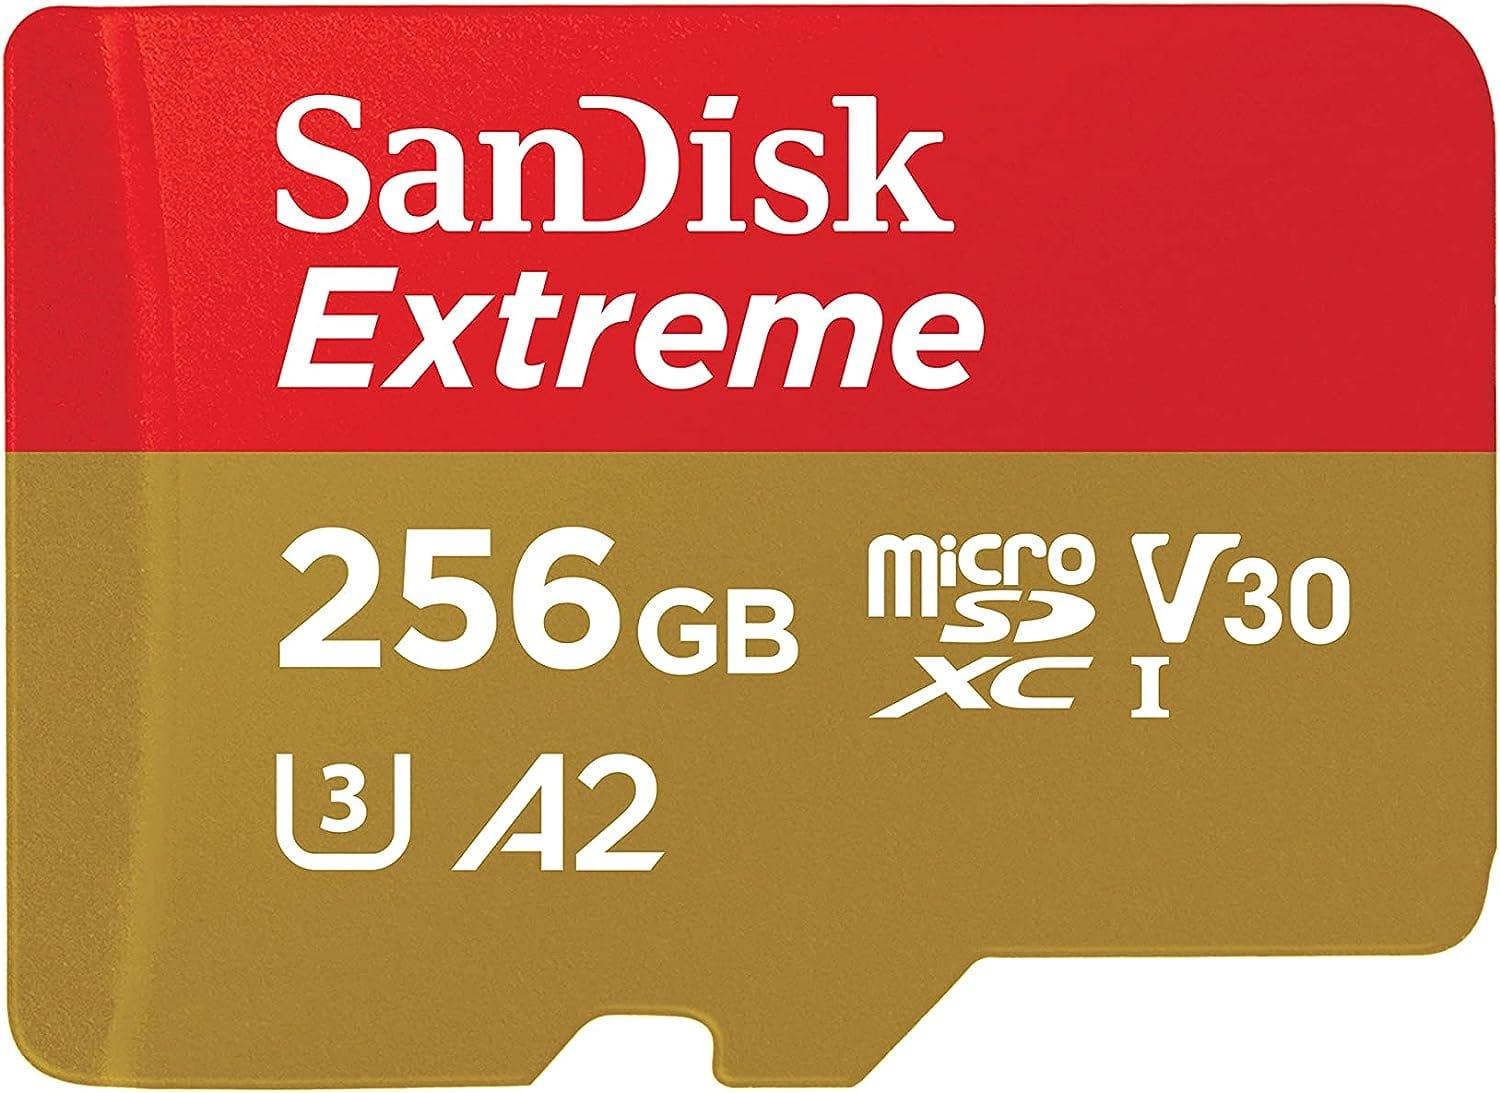
Sandisk 256GB Micro SD Card - $20
You need this to store the data for the Raspberry Pi, without this SD card its useless (don't ask me how I know). You can get one with less or more capacity, but so far I've found 256GB to be right in the sweet spot for price and utility. 1TB would ensure you can install anything your heart desires.
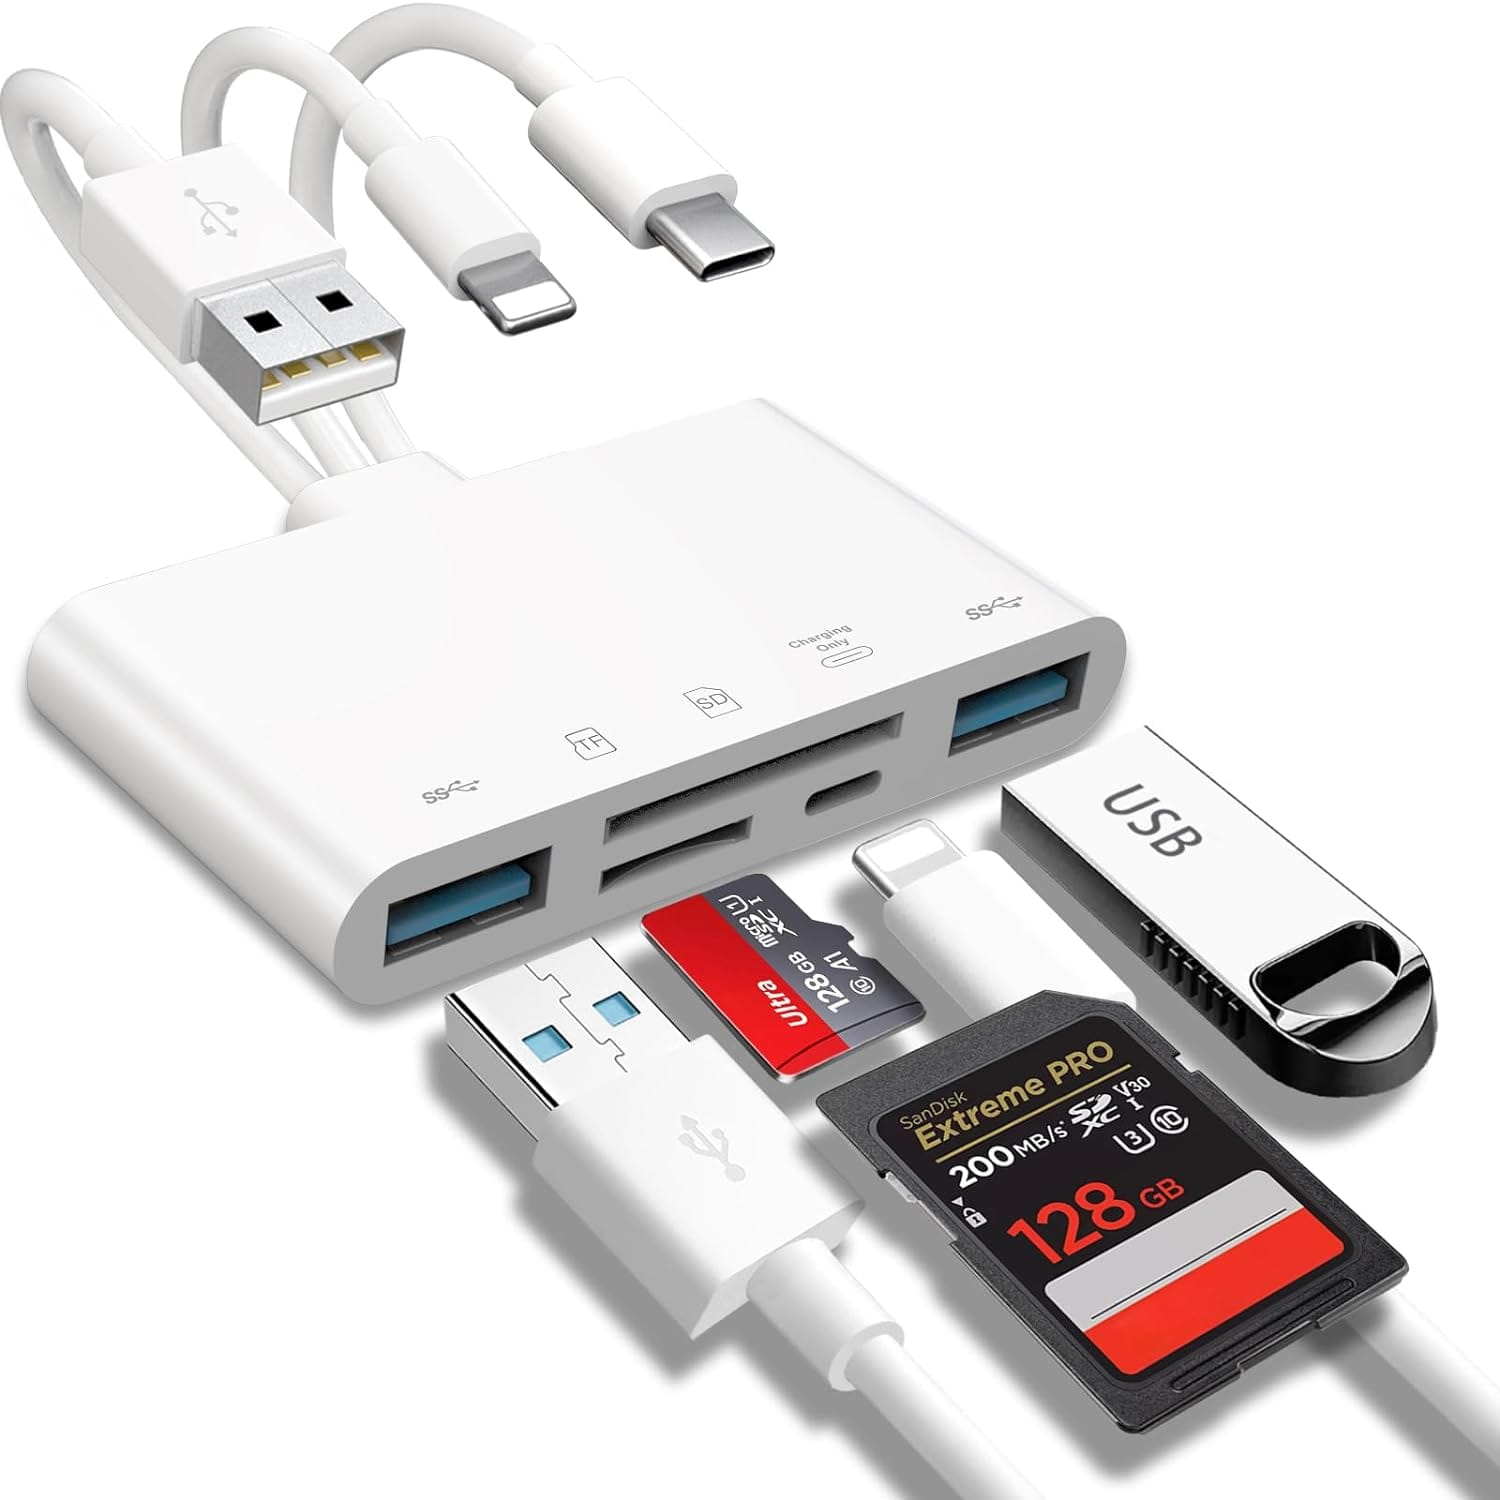
SD Card Reader - $15
These are all about the same price, so I went with the most versatile. If you have an SD card slot in your computer/laptop/or phone, you can skip this purchase.
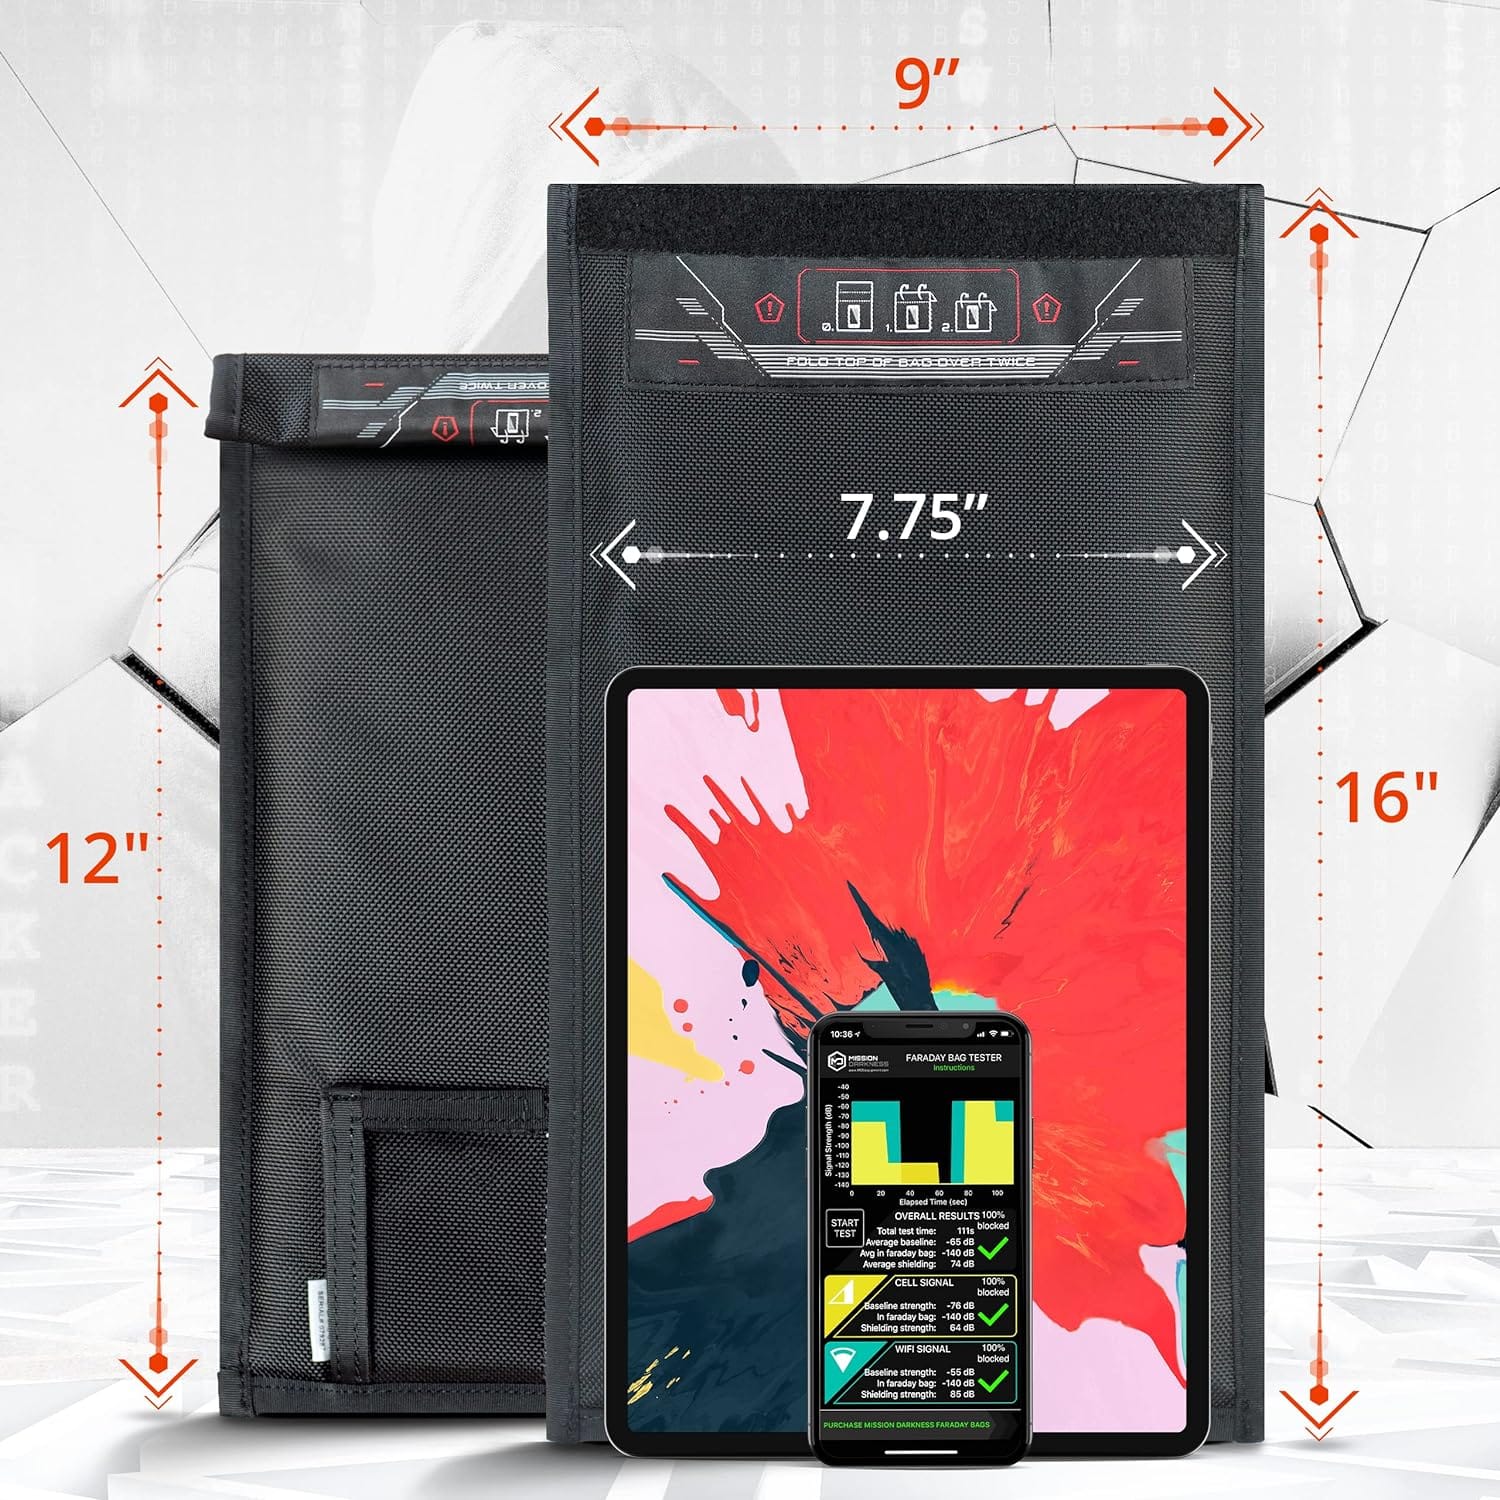
EMP Safe Faraday Bag - $55
To keep your new Internet in a Box safe from the events mentioned above. You could probably get away a smaller one, but I like this size to drop an old phone or tablet in along with the cords also.
So all in, I spent around $220 to get this set up and maybe an hour or two of my time configuring.
Now, lets talk about how to set up your Internet in a Box:
For reference, the official install guide is here, but it doesn't go as deep as I had wanted it to: https://github.com/iiab/iiab/wiki/Raspberry-Pi-Images-~-Summary#iiab-images-for-raspberry-pi
Step 1 - Installing Internet In a Box to the microSD Card
- Connect your SD Card reader to your Windows or Linux computer. Insert the Micro SD card into the appropriate slot.
- Download and Install Raspberry Pi Imager from this link: https://www.raspberrypi.com/software/
- Don't open the program directly, instead follow the instructions for your operating system in this link: https://github.com/iiab/iiab/wiki/Raspberry-Pi-Images-~-Installation
- That should open the software and with the correct install of Internet in a Box. Now,
- Click Choose OS and select Raspberry Pi OS with desktop (64-bit)
- Click Choose Storage and select the microSD Card that you've connected via your SD Card Reader.
- Click WRITE. It takes maybe 15 minutes to install and verify.
- While that's installing, lets put together your Raspberri Pi.
Step 2 - Putting together your Raspberry Pi 4
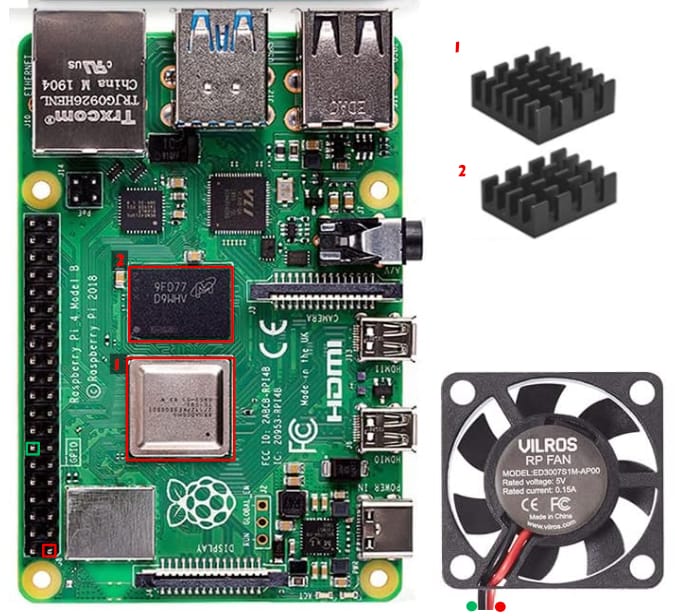
This is a pretty simple process, even for non-technical folk. Assuming you bought the Vilros Raspberry pi 4 kit listed above you're going to follow these instructions:
- Place your Raspberry Pi into the bottom of the case.
- Take your square heat sink, remove the sticker backing, and place it over the square silver chip on your Raspberry Pi. Press it firmly to ensure connection. I've labeled it #1 in the picture above.
- Take your rectangular heat sink, remove the sticker backing, and place it over the black chip labeled 2 in the image above. Press it firmly.
- See the image above for the fan. I've labeled the red wire - red, and the black wire - green for visibilities sake. You should connect the wires to the the corresponding pins on the bottom left of the Raspberry Pi.
- Place the top of the case over your Raspberry Pi, it should be a smooth fit. Install the 4 screws on the other side to secure the case together.
Step 3 - Connecting to Internet in a Box:
- Once Internet in a Box is written to your microSD Card, you can remove the microSD Card and install it into your Raspberry Pi machine via the slot on the bottom.
- Plug in your completed micro-computer. The fan should start spinning.
- Now, using another computer or laptop, search for a new WiFi network called Internet in a Box. Connect to it. (note: you will lose access to your normal internet, so keep this page open in another tab.)
- Open your browser in a new tab and direct to http://box.lan or http://10.10.10.10. You will see the homepage pop up with a few of the generic options populated.
- If you click a link and it doesn't work immediately, don't panic. There is still some configuring to do.
Step 4 - Configuring Internet in a Box:
Here is where the fun starts. We can configure this to add any content that we might find useful.
- Open your browser in a new tab and direct to http://box.lan/admin.
- The username is iiab-admin and the password is g0adm1n.
- The first thing we want to do is give it internet access so that it can download updated materials. Under the Control page, click the Wifi Control in the sidebar. Add your wifi name and password, then click the blue button below that says "Setup Internet Access Wifi Connection". Once you've done that hit the red REBOOT SERVER button in the sidebar and wait for it to reboot.
- Reconnect/login and go to the Install Content page. Depending on your microSD size, I'd suggest installing either the English Speaking School 128GB sampler, or the English Speaking School 256GB starter.
- In the Install Content page, you can now click through the rest of the sidebar items and check the corresponding checkboxes to download modules you might find useful. These downloads will take a while.
My must download items included :
- Zim Files from Kiwix:
- iFixit: The Free Repair Manual
- Other > A library of Knots
- Other > Medical Library
- Other > OpenStreetMap Wiki
- Other > Post Disaster Resource Library
- Other > Water Treatment Library
- Stack Exchange > Amateur Radio
- Stack Exchange > Astronomy
- Stack Exchange > Arts and Crafts
- Stack Exchange > Biology
- Stack Exchange > Cooking
- Stack Exchange > Earth Science
- Stack Exchange > Home Improvement
- Stack Exchange > Homebrewing
- Stack Exchange > Motor Vehicle Maintenance and Repair
- Stack Exchange > Parenting
- Stack Exchange > Raspberry Pi (Might need a user manual at some point right?)
- Stack Exchange > Sustainable Living
- Stack Exchange > Woodworking
- Get Map Regions
- Your Specific Region, and both zoom levels
- Get Map Addons
- Just do the 1000 x 1000km one. Its half a GB and takes 5hrs to download, but is going to be so much more helpful if you need to look for specific locations. Requires the base map from Get Map Regions first.
- Want to add Custom Content? You can convert any website into your own zim files using a site like this https://youzim.it/. Mount the Zim file onto a USB drive and then go to Install Content > Manage Content > Find USB Device and select your file. Try it on this site!
- Need help? I've written a full tutorial here: https://www.survivaltheory.org/adding-my-own-content-to-internet-in-a-box/
Step 5 - Further Configuration:
- In the Install Content page, you can see everything you've installed under Manage Content. Feel free to remove anything that doesn't make sense for your needs here - just click the checkbox and select "Remove Selected Content".
You can also use this as a quick content overview to see if your missing anything you might need. - Make sure everything is installed fully before you go any further.
- Just because its installed, doesn't mean its accessible. If you go back to your homepage http://box.lan its likely to be a disaster of too much info, or maybe it doesn't include everything you just added. Head over to the Content Menus page and select Content item List as a tab in the main page (not sidebar). You can now drag Items from the Right Column to the Left Column if you want to include it, and from the Left Column to the Right Column if you don't want to be able to see it on the homepage. You can also drag your items up and down to reorder.
- Familiarize yourself with the homepage and ensure you know where everything is located in case you need it.
Step 6 - Disaster Preparation:
- Ok now that its set up, its time to store it away in case of emergency. Lets put the following in your new EMP Safe Faraday Bag:
- Raspberry Pi
- A cheap or old tablet, laptop, or phone with WiFi capabilities to connect with.
- Instructions written in a small notebook, index card, or printed out from this site including:
- Connect to WiFi: Internet in a Box
- Connect to website: http://box.lan or http://10.10.10.10
- Admin link: http://box.lan/admin
- Admin Username: iiab-admin
- Admin Password: g0adm1n
- A power source like a battery backup or a small solar panel array.
- Make sure your bag is stored in a dry area (even though water proof faraday bags exist).
Just like that...
you have a full survival library in case of a EMP, solar flare, Carrington event-like scenario, or grid failure for any other reason. Your Internet in a Box is lighter and lower profile than a tens or hundreds of books, and more weatherproof in its EMP Faraday bag.
For me and my family, who are heavily internet reliant, having an Internet in a Box ready and stored safely provides plenty of peace of mind. If and when disaster strikes, we have all of the knowledge needed to survive at our beck and call.


